Schedules
The optional “Schedules” module lets you define a deployment schedule based on the time of day or night, weekends and holidays, calendar weeks and months.
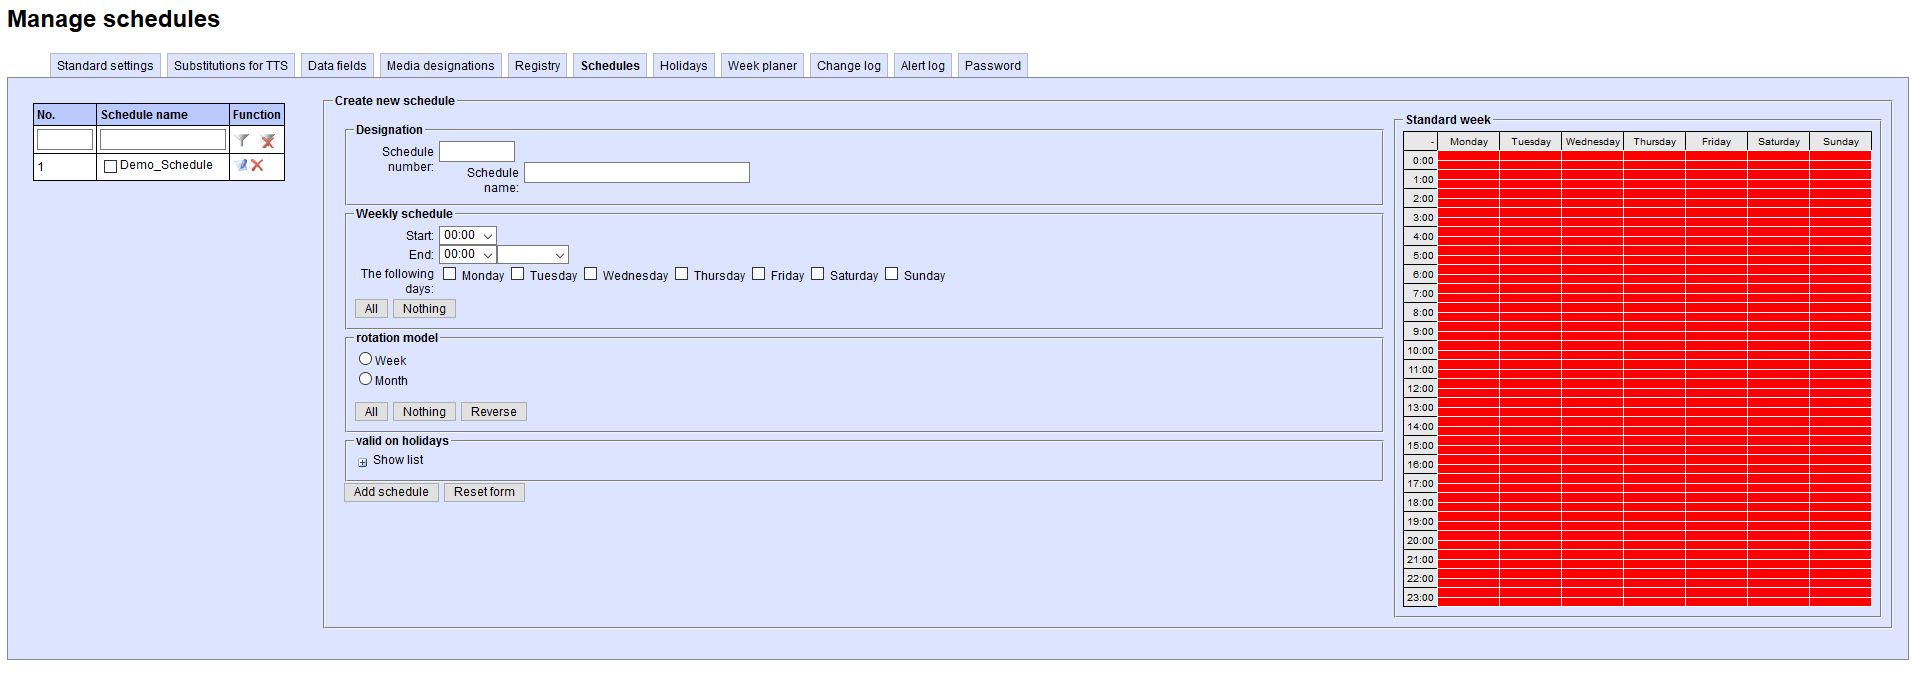
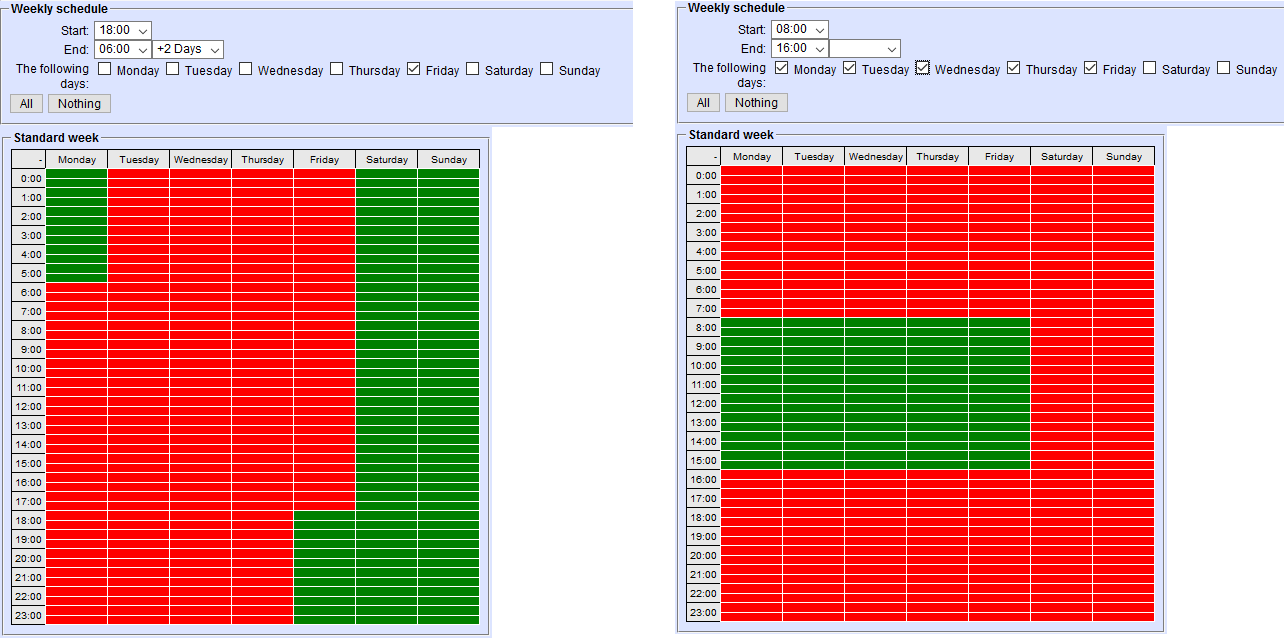
On the left you will see a list of the schedules you already created. You can filter them by number or plan name, as well as edit  or delete idividual plans
 ![]() .
.
Create resource plans
-
Designation: Specify a unique name and number for the plan.
-
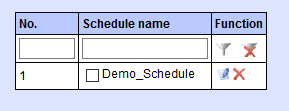
Weekly Schedule: Specify the timeframe and days of the week for which the plan should apply. The selected times are displayed in green in the chart at the right. Deployment times cannot be drawn in. Select the “+ X days” option to add the corresponding number of days to the starting date. Two examples are provided below: On the left side, the shift begins at 6.00 p.m. on Friday and extends continuously through until 6.00 a.m. on Monday => 6.00 p.m. - 6.00 a.m. + 2 days. The example on the right shows regular working hours from 8.00 a.m. - 4.00 p.m. on Monday to Friday.
-
Rotation model: Specify the weeks or months for which the plan applies (e.g. June-August, CW 1,2,3). The schedule will apply for all future years.
-
Valid on holidays: Specify whether the resource plan should also be valid on holidays. By default, public holidays are not taken into account, only days of the week and the default alert is issued. If “Exclude” is selected, no alerts are issued on public holidays and these days are shown in red. “Include” also includes public holidays, from midnight - 11.59 p.m., in the schedule; everybody is on duty and the day is shown in green. The public holidays shown can be modified in the “Holidays” menu.
Save the resource plan you created by clicking on the “Add schedule” button.
Assign resource plan to a group
To assign a resource plan to a group, go to the “Mutation” tab and the “Organisational chart / tree view” menu. There, select the folder required and click on the Edit icon
 .
You can select the desired plan and confirm by pressing “Save” in the “Group Schedule” section.
.
You can select the desired plan and confirm by pressing “Save” in the “Group Schedule” section.

Simulation view
The simulation view lets you see how the schedule will look on a specific date or how multiple schedules overlap. To do so, tick the checkboxes to select the plans you want from the list of schedules. “Simulation view” then opens up below the “Create new plan” area.
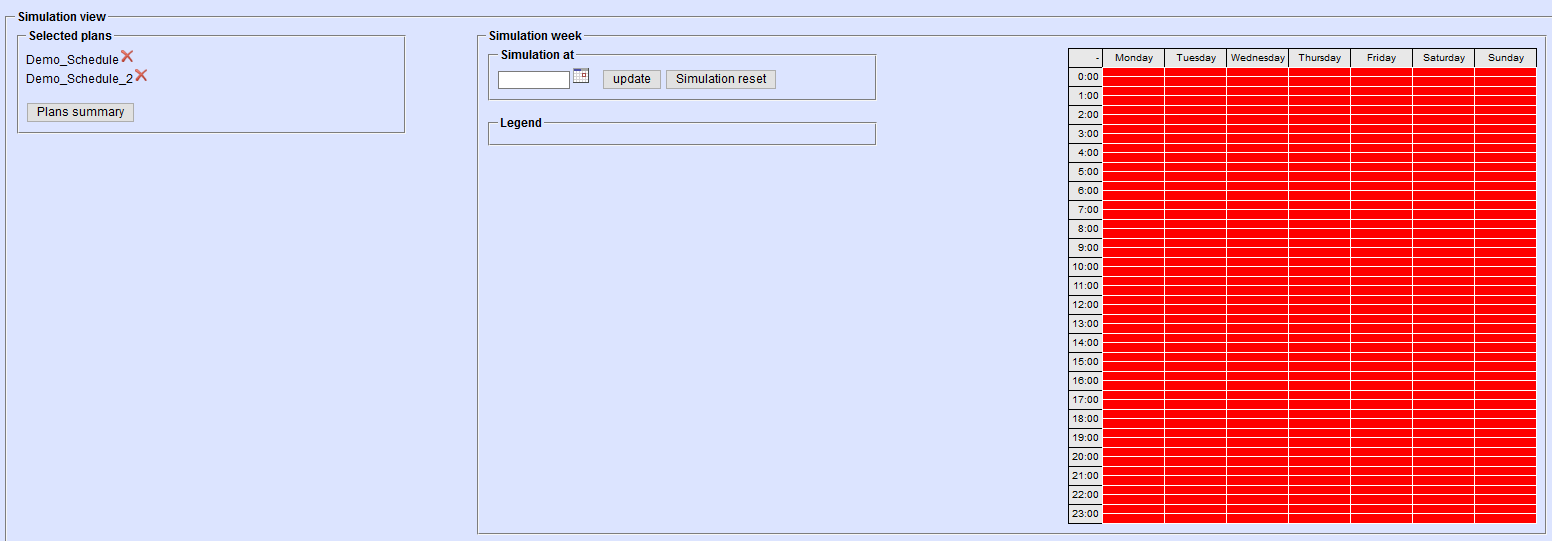
You can merge the selected plans on the left with the “Plans summary” button.
Select any desired date from the “Simulation week” to see what the schedule will look like during that week.
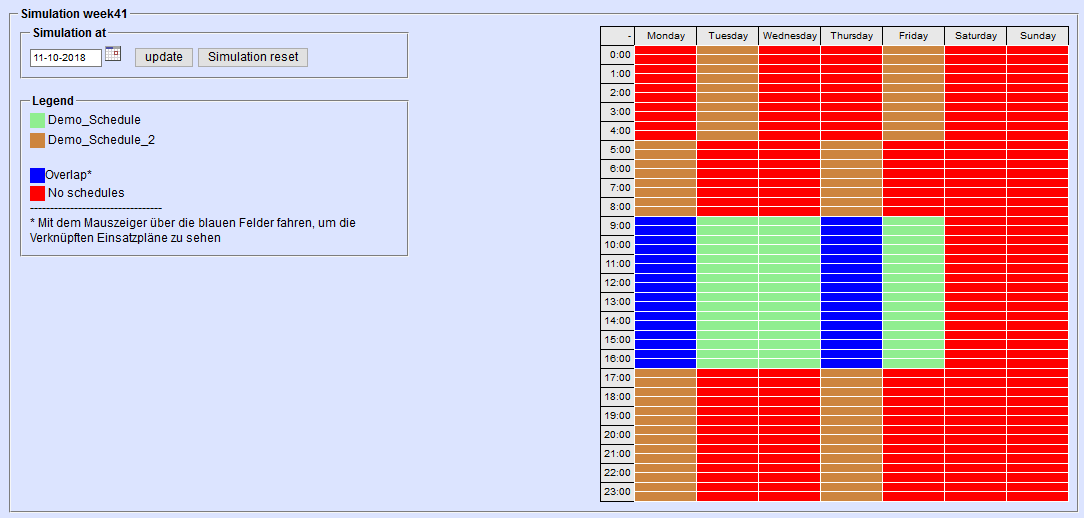
If you have selected several plans, the different plans and their overlaps are then displayed in colour in the chart.