Create alert
As soon as subscribers, groups and roots have been selected and the “Alert”  button has been clicked, the “Create alert” screen opens.
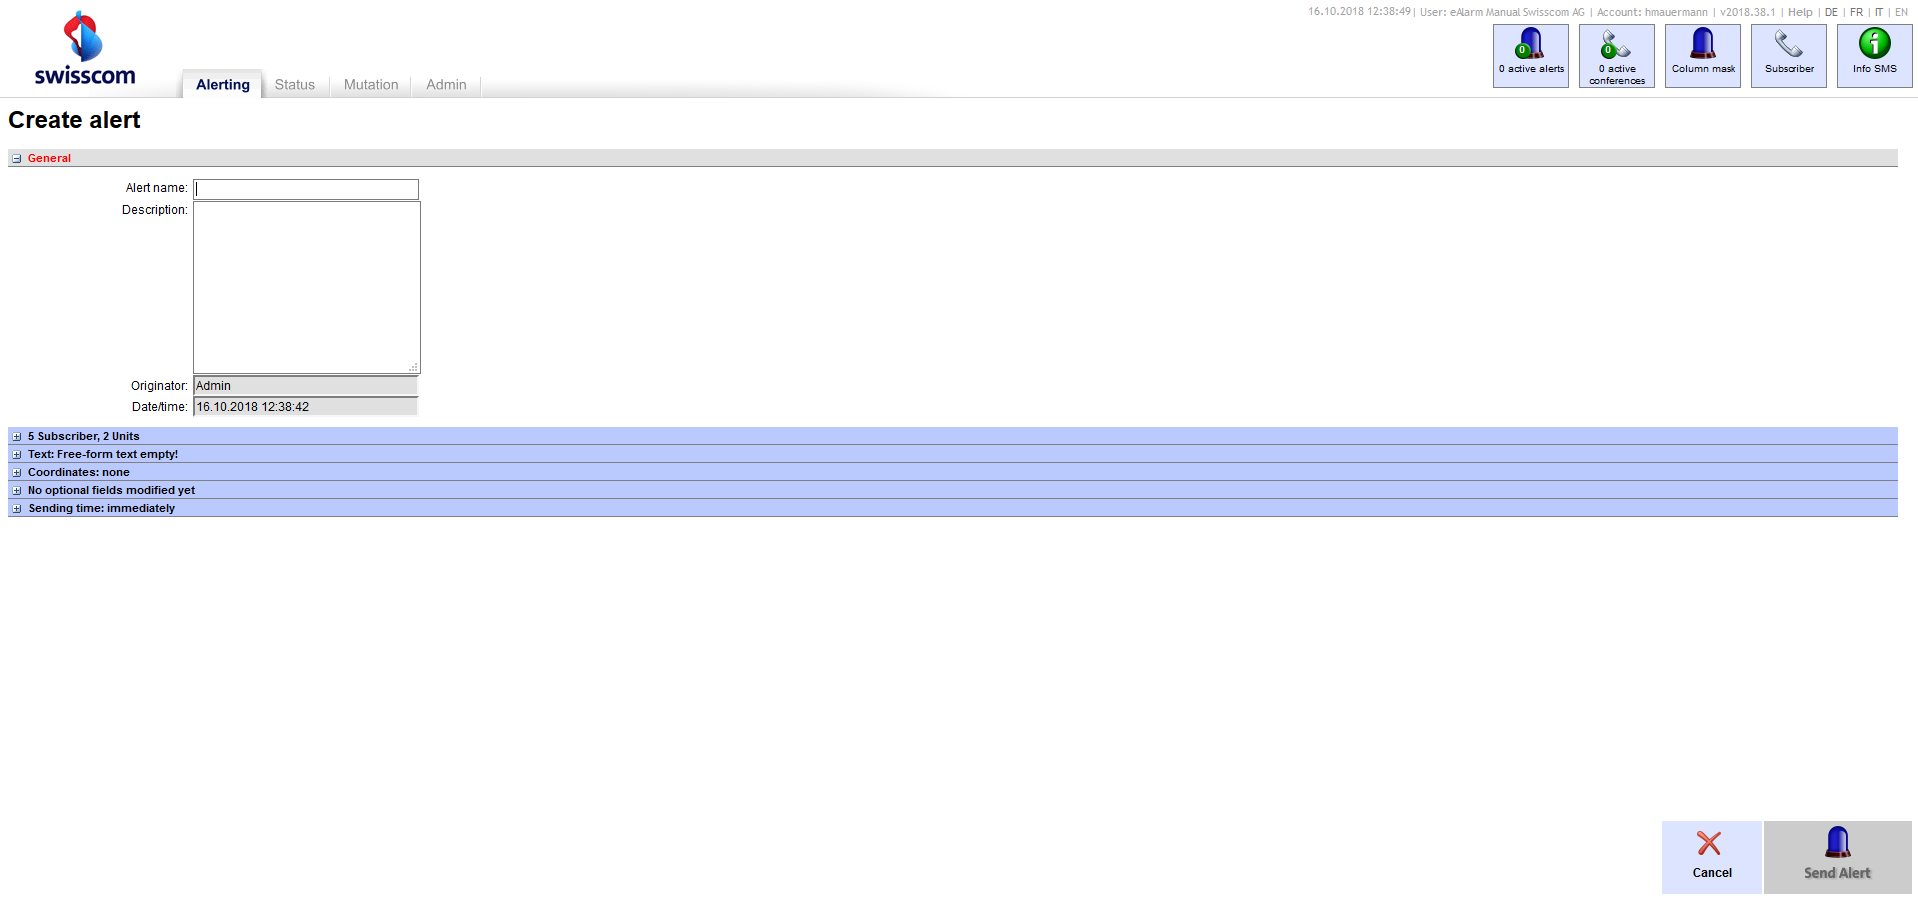
Here you can configure various settings for your alert and then trigger it by pressing the
 button. The button will be greyed out until all necessary settings have been made.
In addition to triggering an alert directly from the Web browser, eAlarm emergency also supports several remote triggers (optional). Whether alerts are conveyed via SMS, phone call and DTMF menu, direct dialling and a web link, they can be triggered by almost all third-party systems. You can find more details about triggering alerts remotely in the information sheet: Remotely triggering eAlarm emergency(TODO)
General
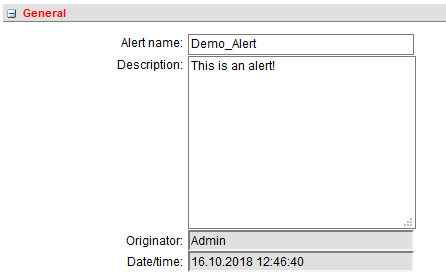
The “alert name” can be changed as desired. A description of the alert can be added under “Description” (optional). The person who created this alert is shown under “Originator” and “Date/time” shows when it was created.
Units

You will see the selected subscribers and units displayed under “Units”.
Use ![]() to delete groups directly,
[edit] to go back to the “Create alert” menu and add more subscribers and groups.
to delete groups directly,
[edit] to go back to the “Create alert” menu and add more subscribers and groups.
Text
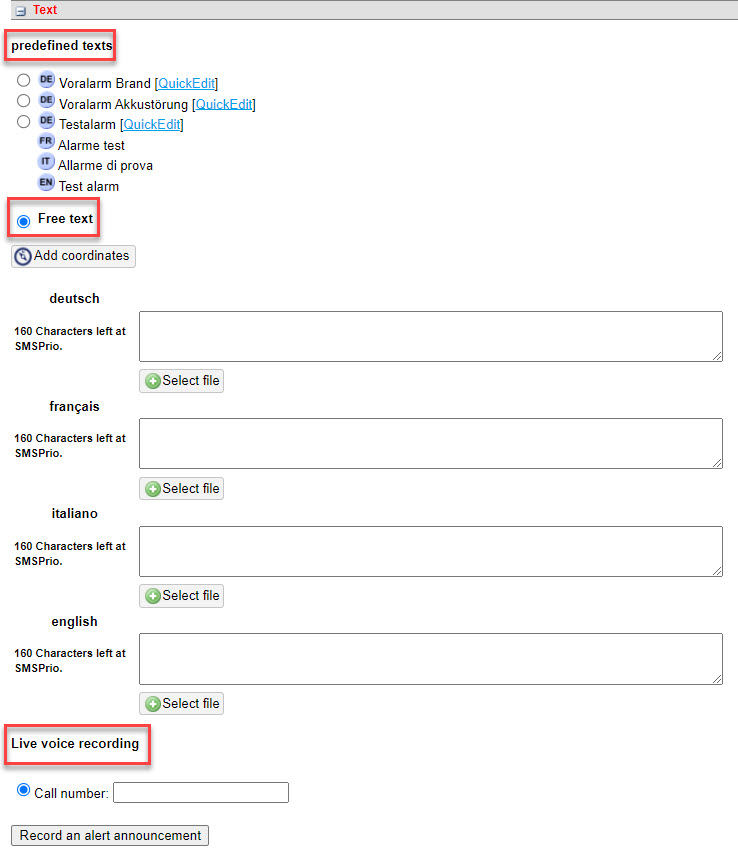
Before an alert can be triggered, an alert text must be selected.
An alarm can only be triggered if an alarm text is assigned to the alarm. Three options are available:
-
Defined texts: Predefined texts are messages that you have previously entered and are useful if the message is always the same for one or more alarm templates.
To enter a text, go to the “Texts” menu, which you will find in the “Mutate” tab. Predefined texts are messages that you have previously entered and are useful if the message is always the same for one or more alarm templates. Then switch to the “Manage alarm templates” menu, select the desired template and assign one or more defined texts in the “Alarm text” tab. -
Free text: Create a new alarm text. A file (PDF, DOC, DOCX, XLS, XLSX, PPT, PPTX, JPG, GIF, PNG) can also be attached.
-
Live voice recording: (optional module “Realtime Voice Recording”) It is possible to record a personalised announcement text by telephone. To do this, enter a valid telephone number and click on “Record announcement”. You will then receive a call, follow the instructions of the voice message.
Coordinates
Under “Coordinates” you can decide if you want to enter coordinates or an address.

-
Specify address: Enter an address, e.g. “Hauptstrasse 10, Bern” or a point of interest, e.g. “Bern train station” here and press Enter to confirm. The address found is automatically converted to WGS84 format.

-
Specify coordinates: Enter coordinates in the desired format (Swiss grid, Milgrid, WGS84). The coordinates are automatically converted to WGS84 format.
Alert options
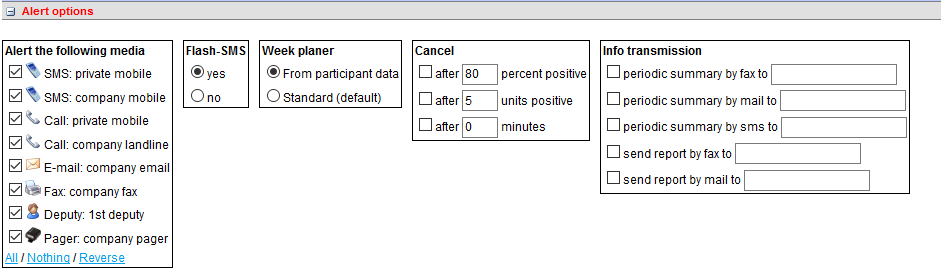
Further options can be defined under “Alert options”:
-
Alerts the following media: Which alert media should be used for the alert?
-
Flash SMS: SMS as Flash SMS (full-screen display of the SMS, even if the screen is locked)
-
Week planner (optional module):
- From participant data: the subscribers are alerted based on the predefined weekly planner
- Standard (default): the predefined weekly planner (optional module) is not used for this option
- Select a previously created weekly plan
-
Cancel: Define cancellation criteria to automatically cancel an alert. If a defined cancellation criterion materialises, the alert is stopped and closed.
- Cancellation due to x% of subscribers sending a positive acknowledgement
- Cancellation due to x subscribers sending a positive acknowledgement
- Cancellation x minutes after the alert was triggered
-
Info transmission: Send an alert report and/or periodical summary to a fax/e-mail address
Sending Time
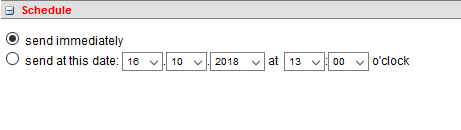
eAlarm is configured in such a way that an alert is ususally triggered directly (“Send immediately”). Under “Sending time/Schedule” an alert can also be scheduled by specifying the day and time the alert should be triggered; this can be done for practice alarms, for example. Scheduled alerts can be queried and deleted in the “Scheduled alerts” menu on the “Status” tab.