Manage events (Optionales Modul)
Events
The “Events” module lets you assign one of the templates you created to specific events. These events can be activated by external systems (e.g. fire alarm systems). This offers the advantage that changes can be made directly to the template while the event itself remains unchanged.
The “Events” menu lists your existing events. You can filter the templates by event name, description, time edited and dispatcher. To do so, enter the desired filter criteria in the filter bar and click on the filter icon
 to confirm.
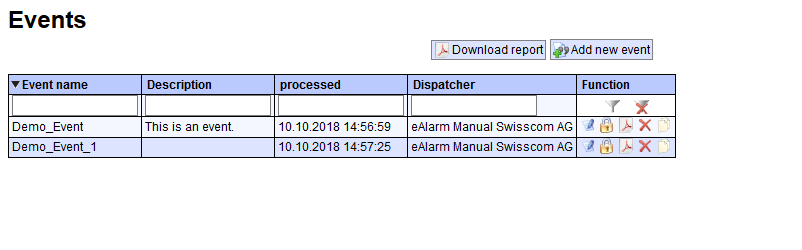
Functions
The following functions are available:
-
Edit
 :
Edits an existing event. For more information, see “Create a new event”.
:
Edits an existing event. For more information, see “Create a new event”. -
Lock event
 :
Option that locks an event. Unauthorised persons cannot edit or delete a locked event, however they can still trigger it. An event can only be unlocked by the originator or the master user.
:
Option that locks an event. Unauthorised persons cannot edit or delete a locked event, however they can still trigger it. An event can only be unlocked by the originator or the master user. -
Download report as a PDF file
 : • Generates a report in PDF format via the event. General information, selected templates and texts, and other options are listed here.

-
Delete
 : Deletes the event.
 -
Copy
 : Creates a copy of the event and adds “copy” to the name; this copy contains all of the same data records.
You can use the “Download report” 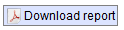 button to create a PDF report listing every event currently listed in the system. If you use the filter option to only show events that were created by John Smith, for example,
and then click on “Download report”, only those events will be listed in the report.
button to create a PDF report listing every event currently listed in the system. If you use the filter option to only show events that were created by John Smith, for example,
and then click on “Download report”, only those events will be listed in the report.
Create a new event
To create a new event, click on “Create new event” 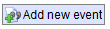 .
in the “Events” menu. This takes you to the “Event” menu, where you can define a variety of options.
.
in the “Events” menu. This takes you to the “Event” menu, where you can define a variety of options.
Save your settings/changes by clicking on “Save event”.
General
Specify the event code and name as well as an optional description on the “General” tab.
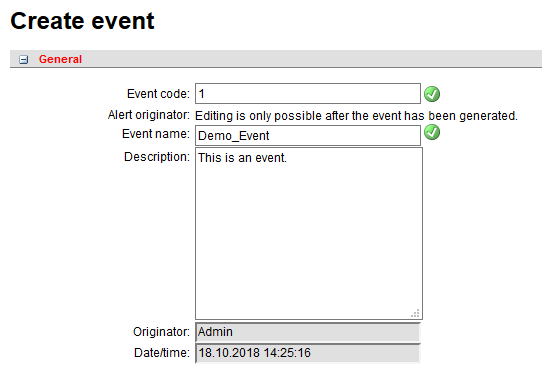
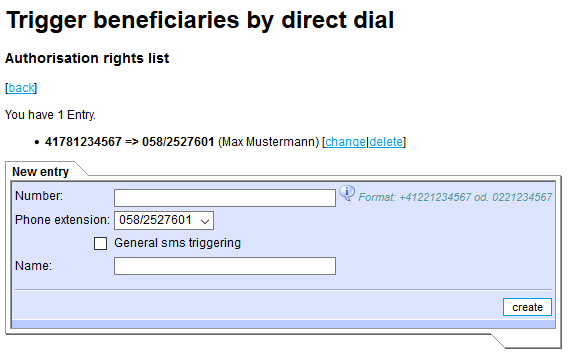
The “Alert originator” function can only be edited after you have created the initial template. Specify the name and number here of the individuals who are authorised to trigger the event
via a direct dial call.
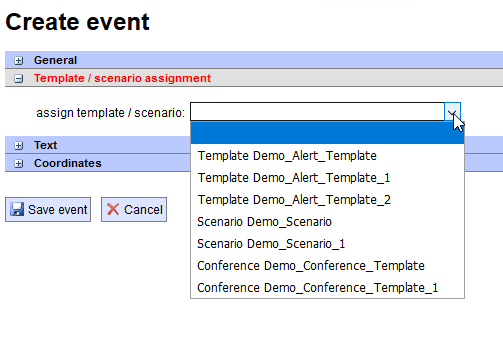
Assignment of templates/scenarios
All existing alert and conference templates are listed in the “Assign templates/scenario” drop-down menu. Select the desired template.
Text
Use the radio button  to select one default text from the list of available texts, i.e. from both predefined texts and free text. Tick the checkboxes
 to select alternative texts that may also be used if the alert is triggered (as described under Managing alert templates).
Coordinates
Here you can decide whether to transmit coordinates, much like when creating an alert. Specify an address and press Enter to confirm; it will automatically be converted to WGS84 format. You can also enter the information as coordinates right away.