Manage schedules (optional module)
Schedules
Standby services can be entered with the optional “Schedules” add-on module.
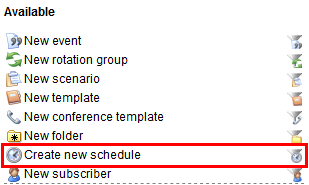
To create a new time control, go to the “Organisational chart / tree view” menu on the “Mutation” tab and click on “Create new schedule” under “Available” in the right-hand column.
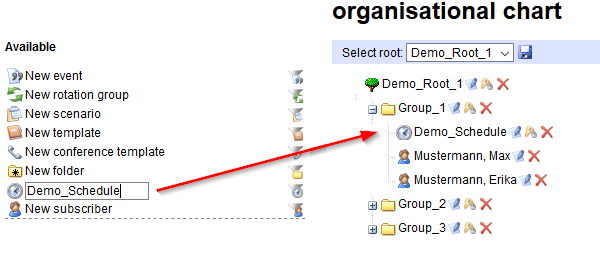
Add the time control you created to a root or a folder.
Step two is to create the groups and fill them with the subscribers who will be on standby on certain days. In the example below, these are:
- “Weekdays” group: subscribers who are on duty on weekdays
- “Weekend” group: subscribers who are on duty on weekends
Add the groups you created in the tree structure to the time control.
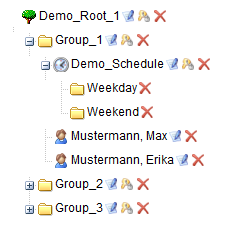
Once a group is attached to a time control, no more subscribers can be added to that group directly in the schedule. With that in mind, put all of the desired subscribers into the group before attaching it.
Clicking on the Edit icon  will take you to the “Schedule” menu where you can define and edit the rosters.
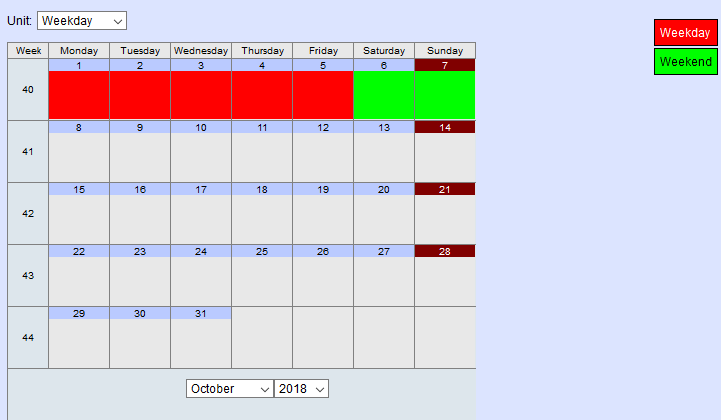
There you will see a calendar and, next to it, a colour-coded list of the groups you selected. Edit the name and designation of the time control under “Name” on the right-hand side of the screen.
will take you to the “Schedule” menu where you can define and edit the rosters.
There you will see a calendar and, next to it, a colour-coded list of the groups you selected. Edit the name and designation of the time control under “Name” on the right-hand side of the screen.

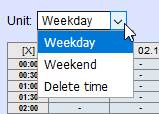
First, select the unit you want to assign to a specific period of time from the drop-down menu above the calendar. Then click on a date. A more detailed view will open up where resource planning can be done on an hourly basis. Define the deployment schedule by pressing and holding the left mouse button and dragging it over the desired period of time.

Assign the appropriate periods of time to all groups.
If you want to delete an assignment, select “Delete time” from the drop-down menu above the calendar.
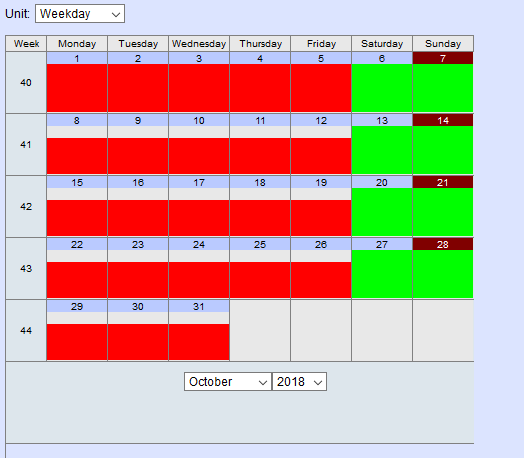
Click the [X] in the top left-hand corner of the hourly view to return to the weekly view. There you will see that the days are now colour-coded in accordance with the groups.
You can now assign resource plans to any desired periods of time. If you have the same schedules every week, however, it makes sense to create an operation schedule. To do so, click on the “Rotation and operation schedule”
 button at the lower right. There you can define a deployment schedule for the various units for up to a four-week cycle.
In the example below, the “Weekdays” unit is scheduled to work Mon - Fri from 6.00 a.m. to 11.30 p.m. and the “Weekend” unit is scheduled for Sat, Sun and public holidays. Confirm by clicking on “Save”.

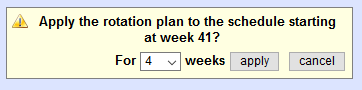
If you now click on a week in the Week column, e.g. calendar week 02, a pop-up window will open where you can specify the length of time in weeks for which the current rotation plan should be applied.